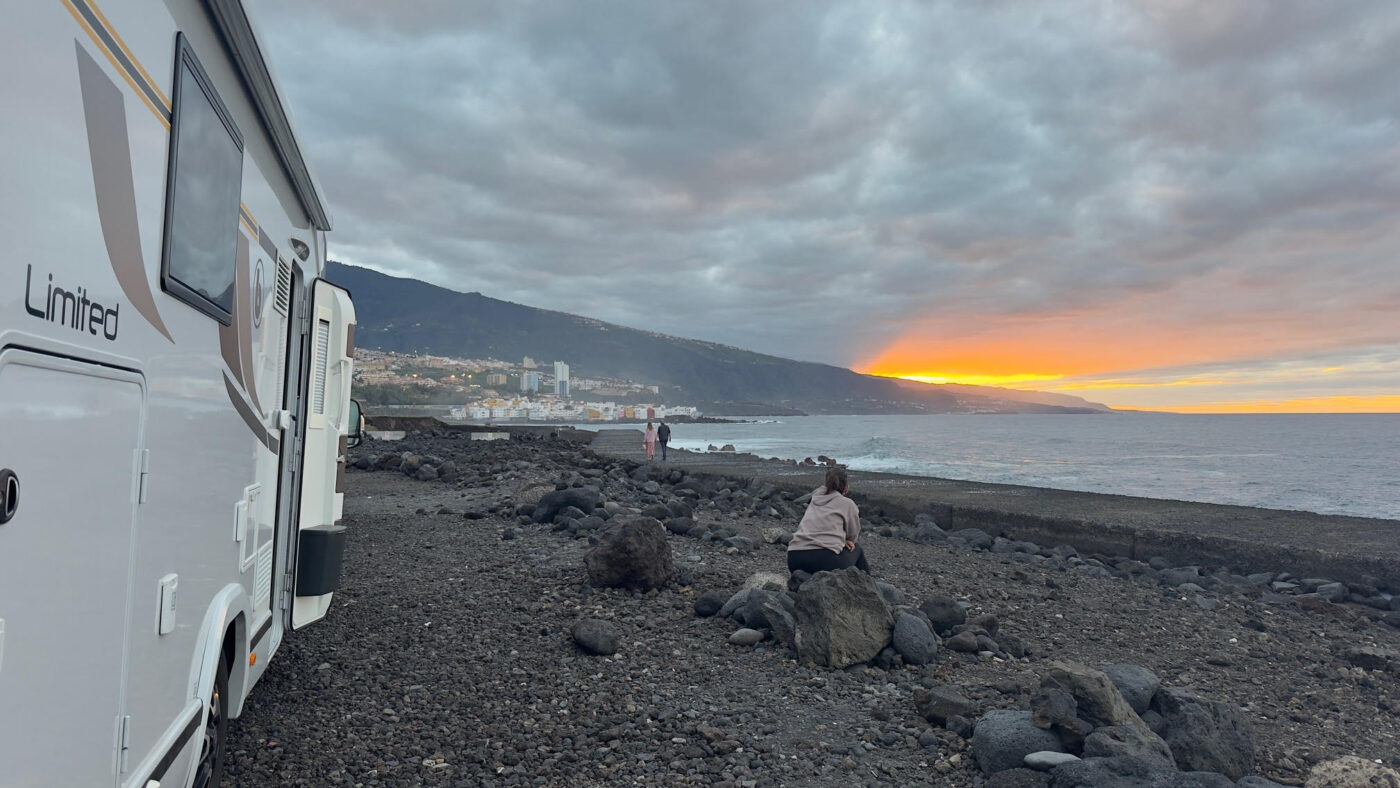
The trip has come to an end. The roads, sunsets, and freedom of the open road turn into memories as you approach the drop-off point. At this moment, a small anxiety may appear: “Have I done everything right? Will they keep my deposit?” Relax. This feeling is common, but completely avoidable. The difference between a quick, surprise-free return and one with extra charges often isn’t about major damages, but small, overlooked details. This text isn’t just a list; it’s the map that ensures your last stop is as smooth as the journey. Discover the one step that, if you forget it, can make 95% of the previous work useless.
The Right Mindset: It’s Not a Formality, It’s Part of the Journey
Thinking of the return as a mere bureaucratic formality is the first mistake. It’s the final act of respect for the vehicle that has been your home and for the next person who will rent it. A good return not only protects your wallet (by ensuring the full refund of your deposit) but also closes your motorhome rental experience with the same good feeling it started with. Begin preparing at least 24 hours before the official drop-off time.
The Essential Checklist: 24-48 Hours Before Return
Don’t leave everything for the last minute. These are the steps you should be ticking off while still enjoying your last night on the road.
1. Review of the Rental Agreement and Conditions
This is your most important document. Before you start cleaning, open it again and locate the “Return” or “Drop-off Conditions” section. It clearly specifies:
- Drop-off deadline: Is there a time slot? Any grace period? Being late can result in an extra charge for a full day.
- Mandatory fuel level: Must it be returned with a full tank? Both petrol/diesel and LPG? This is the point that causes the most confusion.
- Required cleanliness state: Interior and exterior? Just the interior? Does it include emptying the grey and black water tanks?
- Included mileage: Check if you have exceeded the included km limit to anticipate any possible extra charge.
2. Planning the Last Day of Travel
Organize your route for the last day with the logistics of the return in mind:
- Fuel: Locate a large, reliable gas station near the drop-off point (not right next to it, as they are often more expensive). Plan to refuel there, both petrol/diesel and gas (LPG) if necessary.
- Waste water disposal station (CDP): Crucial. Look for a motorhome service area (Aire) or a campsite where you can empty the black water (toilet) and grey water (sink/shower) tanks. Do this on the same day as the return, never days before.
- Cleaning: Set aside time for it. Don’t underestimate it.
The Step-by-Step Return Process: The Big Day
Follow this logical order to be efficient and forget nothing.
Phase 1: Emptying and Cleaning the Systems (What You Don’t See, But Can Smell)
This is the most technical and critical part. Doing it wrong guarantees extra charges and an awkward farewell.
- Black Water (Chemical Toilet):
- Add a bit of clean water and chemical product into the bowl. Drive a little to mix it.
- At the disposal station (CDP), connect the motorhome’s hose. Open the black tank valve and empty it completely.
- Close the valve. Fill the tank with clean water (about 10-15 liters) using the station’s hose. Add a splash of specific tank cleaner. Close and drive a little.
- Empty it again. This is a “rinse.” Leave the tank empty and the valve closed.
- Grey Water (Sink and Shower): Simply open the corresponding valve at the station and empty. It’s advisable to pour a bit of disinfectant product down the drains to eliminate odors.
- Fresh Water Tank: Empty it completely by opening the tap and the drain valve. Leave the tap open to let it drain well.
- Gas Bottle (LPG): Close the bottle valve. If the contract requires returning it full, refill it. If not, leave it closed and disconnected.
Phase 2: Interior Cleaning (Beyond Wiping Surfaces)
The standard is to return it in the same state of cleanliness you received it. Ask for photos of the initial state if you have them.
- Tidiness and Trash: Remove ALL your belongings. Check every cupboard, drawer, compartment under seats and the bed. Trash must go to bins, not be left in bags inside.
- Floors and Surfaces: Vacuum thoroughly (carpets and rugs). Mop the floor if it’s very dirty. Clean tables, countertops, cupboard doors, and the dashboard.
- Kitchen: Clean oven, microwave (if included), stove, sink, and refrigerator. The fridge must be UNPLUGGED (set the switch to 0), empty, dry, and with the door open to prevent smells.
- Bathroom: Clean sink, shower, and toilet inside and out. Dry well to avoid moisture.
- Bedding and Towels: If they were provided, they usually go in a separate bag for laundry. If they are yours, take them.
Phase 3: Exterior and Mechanics (First Impressions Count)
- Exterior Cleaning: If the contract requires it, wash it. At the very least, remove dried mud from the wheel arches and insects from the windshield and front.
- Fuel: Fill it to the brim, exactly as stated in the contract. Keep the gas station receipt; it’s your proof.
- Tires and Bodywork: Walk around and check for any new dents, scratches, or dings that weren’t on the initial check-in report. Inform the staff if you find anything questionable.
- Documentation and Items: Make sure you have all the vehicle paperwork (form, insurance, registration document) handy for the handover. Collect any parking permits or toll tags that belong to the company.
Phase 4: The Final Inspection with Staff
Don’t just drop off the keys and leave. This moment is key to protecting yourself.
- Mandatory Presence: Insist they do the inspection with you present. Walk around the vehicle with them.
- Joint Review: Check the fuel level together (with the receipt in hand), the interior cleanliness, and that the tanks are empty.
- Comparison with Initial Report: Cross-check any existing damages with the list or photos from the initial check-in report. Make sure you are not attributed with previous damages.
- Written Documentation: Request a final handover report signed by both parties stating the vehicle is returned in correct condition with no new damages. It’s your receipt that everything is okay.
- Clarification of Pending Charges: Ask openly: “Are there any pending charges for extra kilometers, lateness, or any other concept?” Make sure everything is clear before you leave.
Most Common (and Very Costly) Mistakes to Avoid
- Returning it without refueling: The administrative refueling charge is usually double or triple the gas station price. Forgetting to empty the chemical toilet: The charge for tank cleaning is high and very unpleasant to argue about.
- Leaving the fridge dirty and closed: Within 24 hours, the smell will be unbearable and will incur a deep cleaning charge.
- Not reviewing the initial report: Without it, you cannot prove which damages were pre-existing.
- Arriving late: Many contracts charge a full extra day for being a few hours late.
- Not keeping the fuel receipt: It’s your only proof that you refueled.
The €1000 Question: What Happens with the Deposit?
The deposit or security bond is a hold on your card, not a payment. Normally, it is released within 7 to 14 working days after the handover, provided there are no issues. If everything is correct, the money will simply be “released” and become available in your account again. If there are charges, the company will deduct them and refund the rest, with a detailed invoice. This is why the signed handover report is vital: it’s the document that prevents them from withholding your deposit unfairly.
What if Something Goes Wrong? How to Handle Issues During Return
If you discover last-minute damage or something breaks, never hide it. Be proactive and communicate it immediately to the staff. Most companies have insurance that covers minor damages in exchange for an excess (which often matches the deposit amount). Being honest is usually cheaper and avoids bigger conflicts. If you disagree with a charge, request written justification with photographs and compare it with your initial documentation.
A successful return is the perfect ending to a great adventure. By following this guide, you will turn a moment of uncertainty into a quick and hassle-free procedure, ensuring that good memories are the only thing you take away from the trip. At Autocaravanas Camperdadi, we believe that a positive experience of What should I do before returning a rented motorhome? is based on clarity and mutual trust from the first to the last minute.
Planning your next adventure on wheels? At Autocaravanas Camperdadi, we not only offer you motorhome rental in Madrid and all over Spain, but also all the information and support to make your experience, from pickup to return, impeccable. To check availability or resolve any questions about our motorhome rental in Spain, contact us. Call us at +34 91 082 06 32, send us a WhatsApp at +34 639 266 865, or email info@autocaravanascamperdadi.com. We look forward to making your trip a reality!